

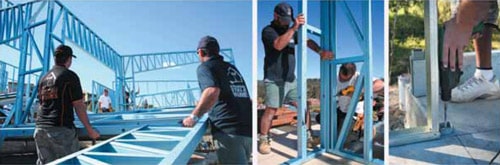
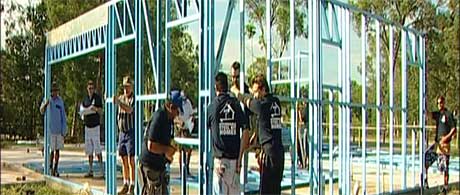
Now you're making head way! This step is probably the quickest, easiest and most impressive of all. Just like building a big Lego toy, you just mark out where the walls go on the slab of floor system and put them all together. If you've got a two story house you'll fix the mid floor in place as well and finish the second floor walls.
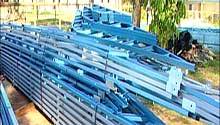
It is important in the case of a concrete slab home the concrete be complete before the frames are delivered.
All transport costs are to be met by the owner unless it has been requested that they be included in the contract. One of our representatives will discuss delivery dates and transport requirements with you. You may decide to handle the transportation yourself, but if any problems arise, we can recommend a transport company that can assist and has experience in moving steel frames.
Please note: Chains must not be used to lift off or tie down frames, as they only damage the steel components. All frames required on site for weekend work must be uplifted from the factory by the proceeding Thursday as it is sometimes difficult to get reliable transport on a Friday.
Walls are marked clearly to match plans supplied to make finding the correct frame quick and easy.
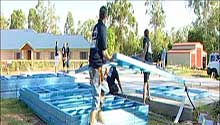
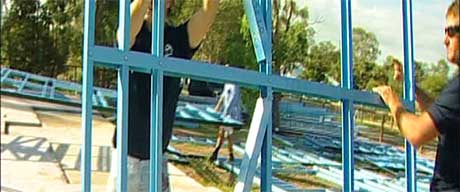
The fixing of wall frames on a steel floor system or a concrete slab is basically the same. The only real difference is the components used. Mark out the floor the same as your plans using a chalk line or marker and stand the walls in position positioning them in line with the marks you have made. Remember that the frames should be flush with the edge of the slab or floor system. Fix down through the bottom plate of the frame and into the slab or Continuous Blocking Plate (CBA) or End Joist of the floor system. Carry this out as you go and it will help stop the walls from slipping off the floor if a wall is bumped by mistake. Remember to always use a level when joining walls together. You might need to wait until you are sure you have everything lining up before you go fixing things using more permanent fixtures such as bolting into slabs etc.
Before standing the exterior walls on brick veneer houses, lay a strip of polyflash damp proofing (code 50) under where the wall will fit. Let the extra width hang outside as this will go under the first layer of bricks. The excess will cut off later. Polyflash will not be required on Hardiplank houses as a special flashing will be used.
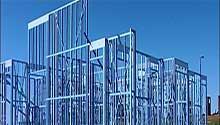
The steel frame system is computer generated and testing has proven that the wall frames will be within 2mm of completely square. Therefore, when the two frames meet at the outside corner they should be plumb.
After all external and internal walls have been erected and fully anchored down, the bottom plate can be cut out at doorways. This can be done at anytime, but it is advisable to remove the plate as soon as possible. Use an angle grinder to make the cuts.
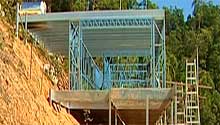
With two story homes, there may be some columns that the wall plates may have to trim around and also some beams that may have to be placed in position. After fitting the mid floor, erect the top storey wall frames, as per the fixing details on a steel floor system.
Previous Step | Next Step