

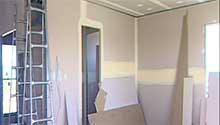
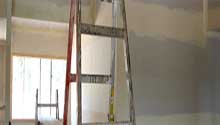
Getting the plaster board up onto your internal frames is a great feeling as the house slowly becomes a home. Many people select to hire a professional for this job, but there are DIY instructions available from many of the plaster suppliers. Joining and finishing is a little tricky but many owner builders do make the choice to get hands on so it is another place to save big dollars.
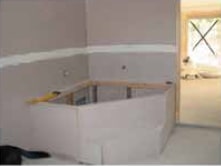
Bath and shower trays: Before any linings can be fixed into the bathroom or ensuite, the bath and or shower trays will have to be fitted as required. There will be bath support nog welded into the walls to support the bath and the same for the shower tray. You will have to build a cradle or front support to close in the bath and support the front edge.
This will be constructed using 75 by 25 or 100 by 25 timber. You will also have to fix some short lengths to the floor to be able to fix the base of the cradle.
When positioning the cradle, make sure to allow for the thickness of tiles and wall linings which have to fix to the front of the cradle support. After the bath cradle framing is completed, make sure to notify the plumber to connect the waste before fixing the lining. Follow the same set up and rules for a shower tray.
Previous Step | Next Step